Installing PyCharm
You will be writing your code on your computer using an application called PyCharm. PyCharm is what is known as an IDE, or Integrated Development Environment, which means that it allows us to edit our code, browse our files, run our programs and debug them, all in the same place. It's one of the most popular Python IDEs in the world, and used extremely commonly in industry. This handout is intended to take you through installing PyCharm on your own computer.
Chromebook Installation Instructions
We've detected that you are using a Chromebook. The Chromebook installation instructions are different than for other platforms - please use the following steps instead to install python and PyCharm and skip the install sections below. It might seem a little less straightforward than the regular installation but we are here to help you every step of the way!
The main steps will involve following along with this video. You will essentially:
- Turn on linux (beta)
- Install
python3packages via terminal - Run pycharm for the first time via terminal
- Download an app shortcut manager that allows you to access pycharm by clicking on a button (as opposed to opening terminal every time)
Some things not in the video:
- A few scary warnings you might see during installation, that you can ignore.
- Run
sudo apt-get install python3-tkfrom the terminal after you follow the video to install a library.
Once you have followed these steps, jump down to Testing Pycharm to test your installation.
Installing Python
In order to be able to run Python programs on your computer, with or without PyCharm, you first need to install a Python Interpreter. An interpreter is a program that is capable of reading a .py file that you have written, and translating the Python code in that file to instructions that your computer can easily execute. When downloading this on Mac and Windows, this also automatically includes the Tkinter library, which allows us to draw graphics, and which you'll be learning about later in the course. Begin by downloading Python:
- Mac Installer
- Windows 64-bit installer (If you don't know if your Windows computer is 32-bit or 64-bit you can visit this page.)
- Windows 32-bit installer (If you don't know if your Windows computer is 32-bit or 64-bit you can visit this page.)
Installing Python on a Mac
Macs come with a version of Python already installed, but this is an older version of Python. We use the newest version of Python, so make sure to follow these instructions even if you think you already have Python installed. To install Python, simply open the downloaded installer file and follow the default instructions.
Installing Python on Windows
Open the downloaded file. Before installing, there should be an option that says "Add Python 3.8 in PATH". Make sure to check this box. Then, continue installing normally.
Installing and Testing PyCharm
Installation
To get started, download and install the community version of PyCharm:
-
Mac Download
(Open the downloaded
.dmgfile and drag PyCharm into your Applications folder) -
Windows Download
(Open the downloaded
.exefile and install PyCharm, using all the default options.)
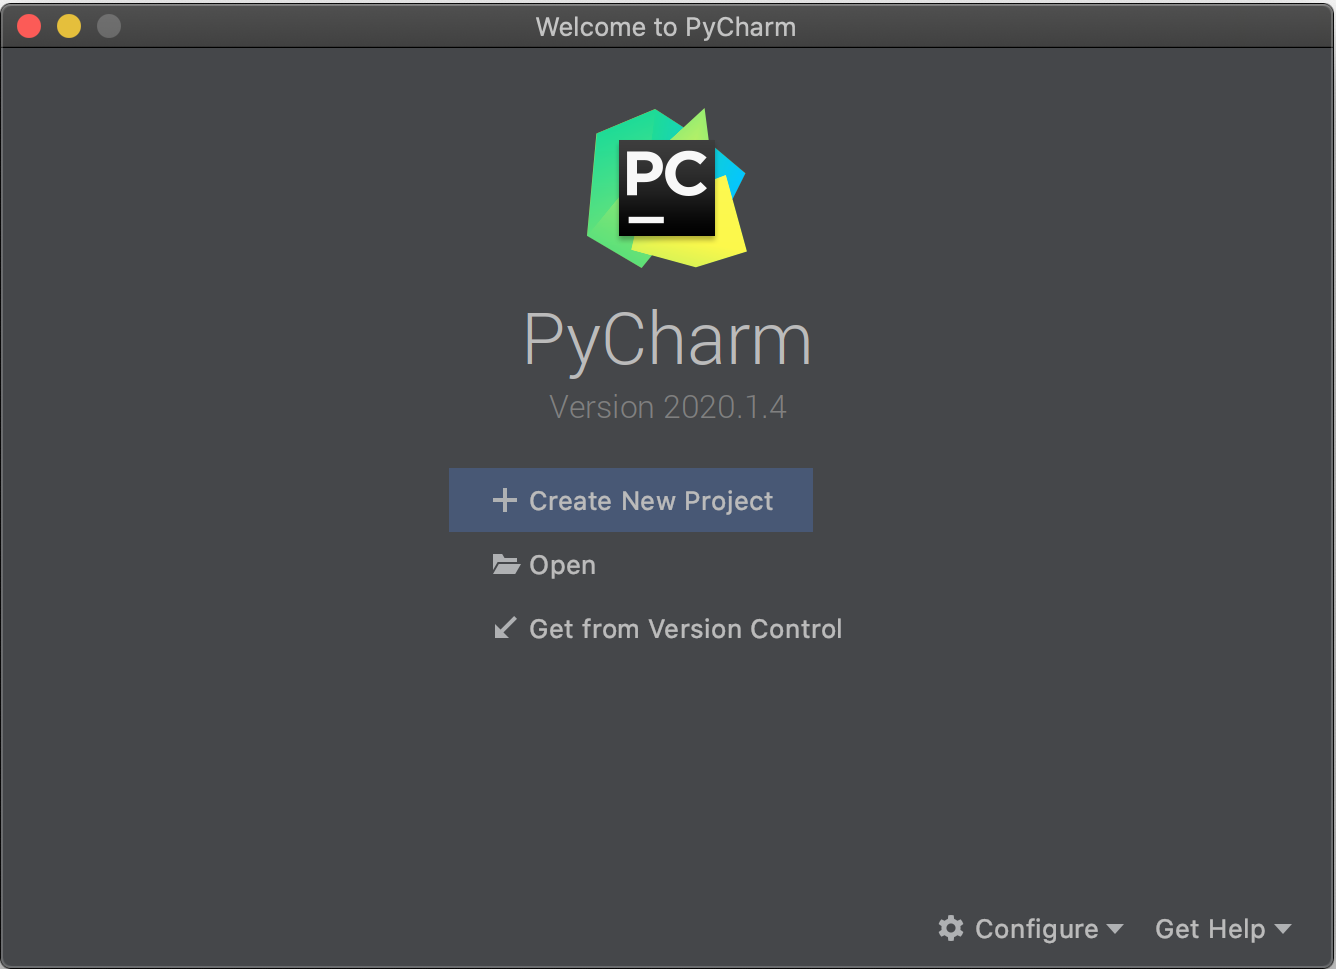
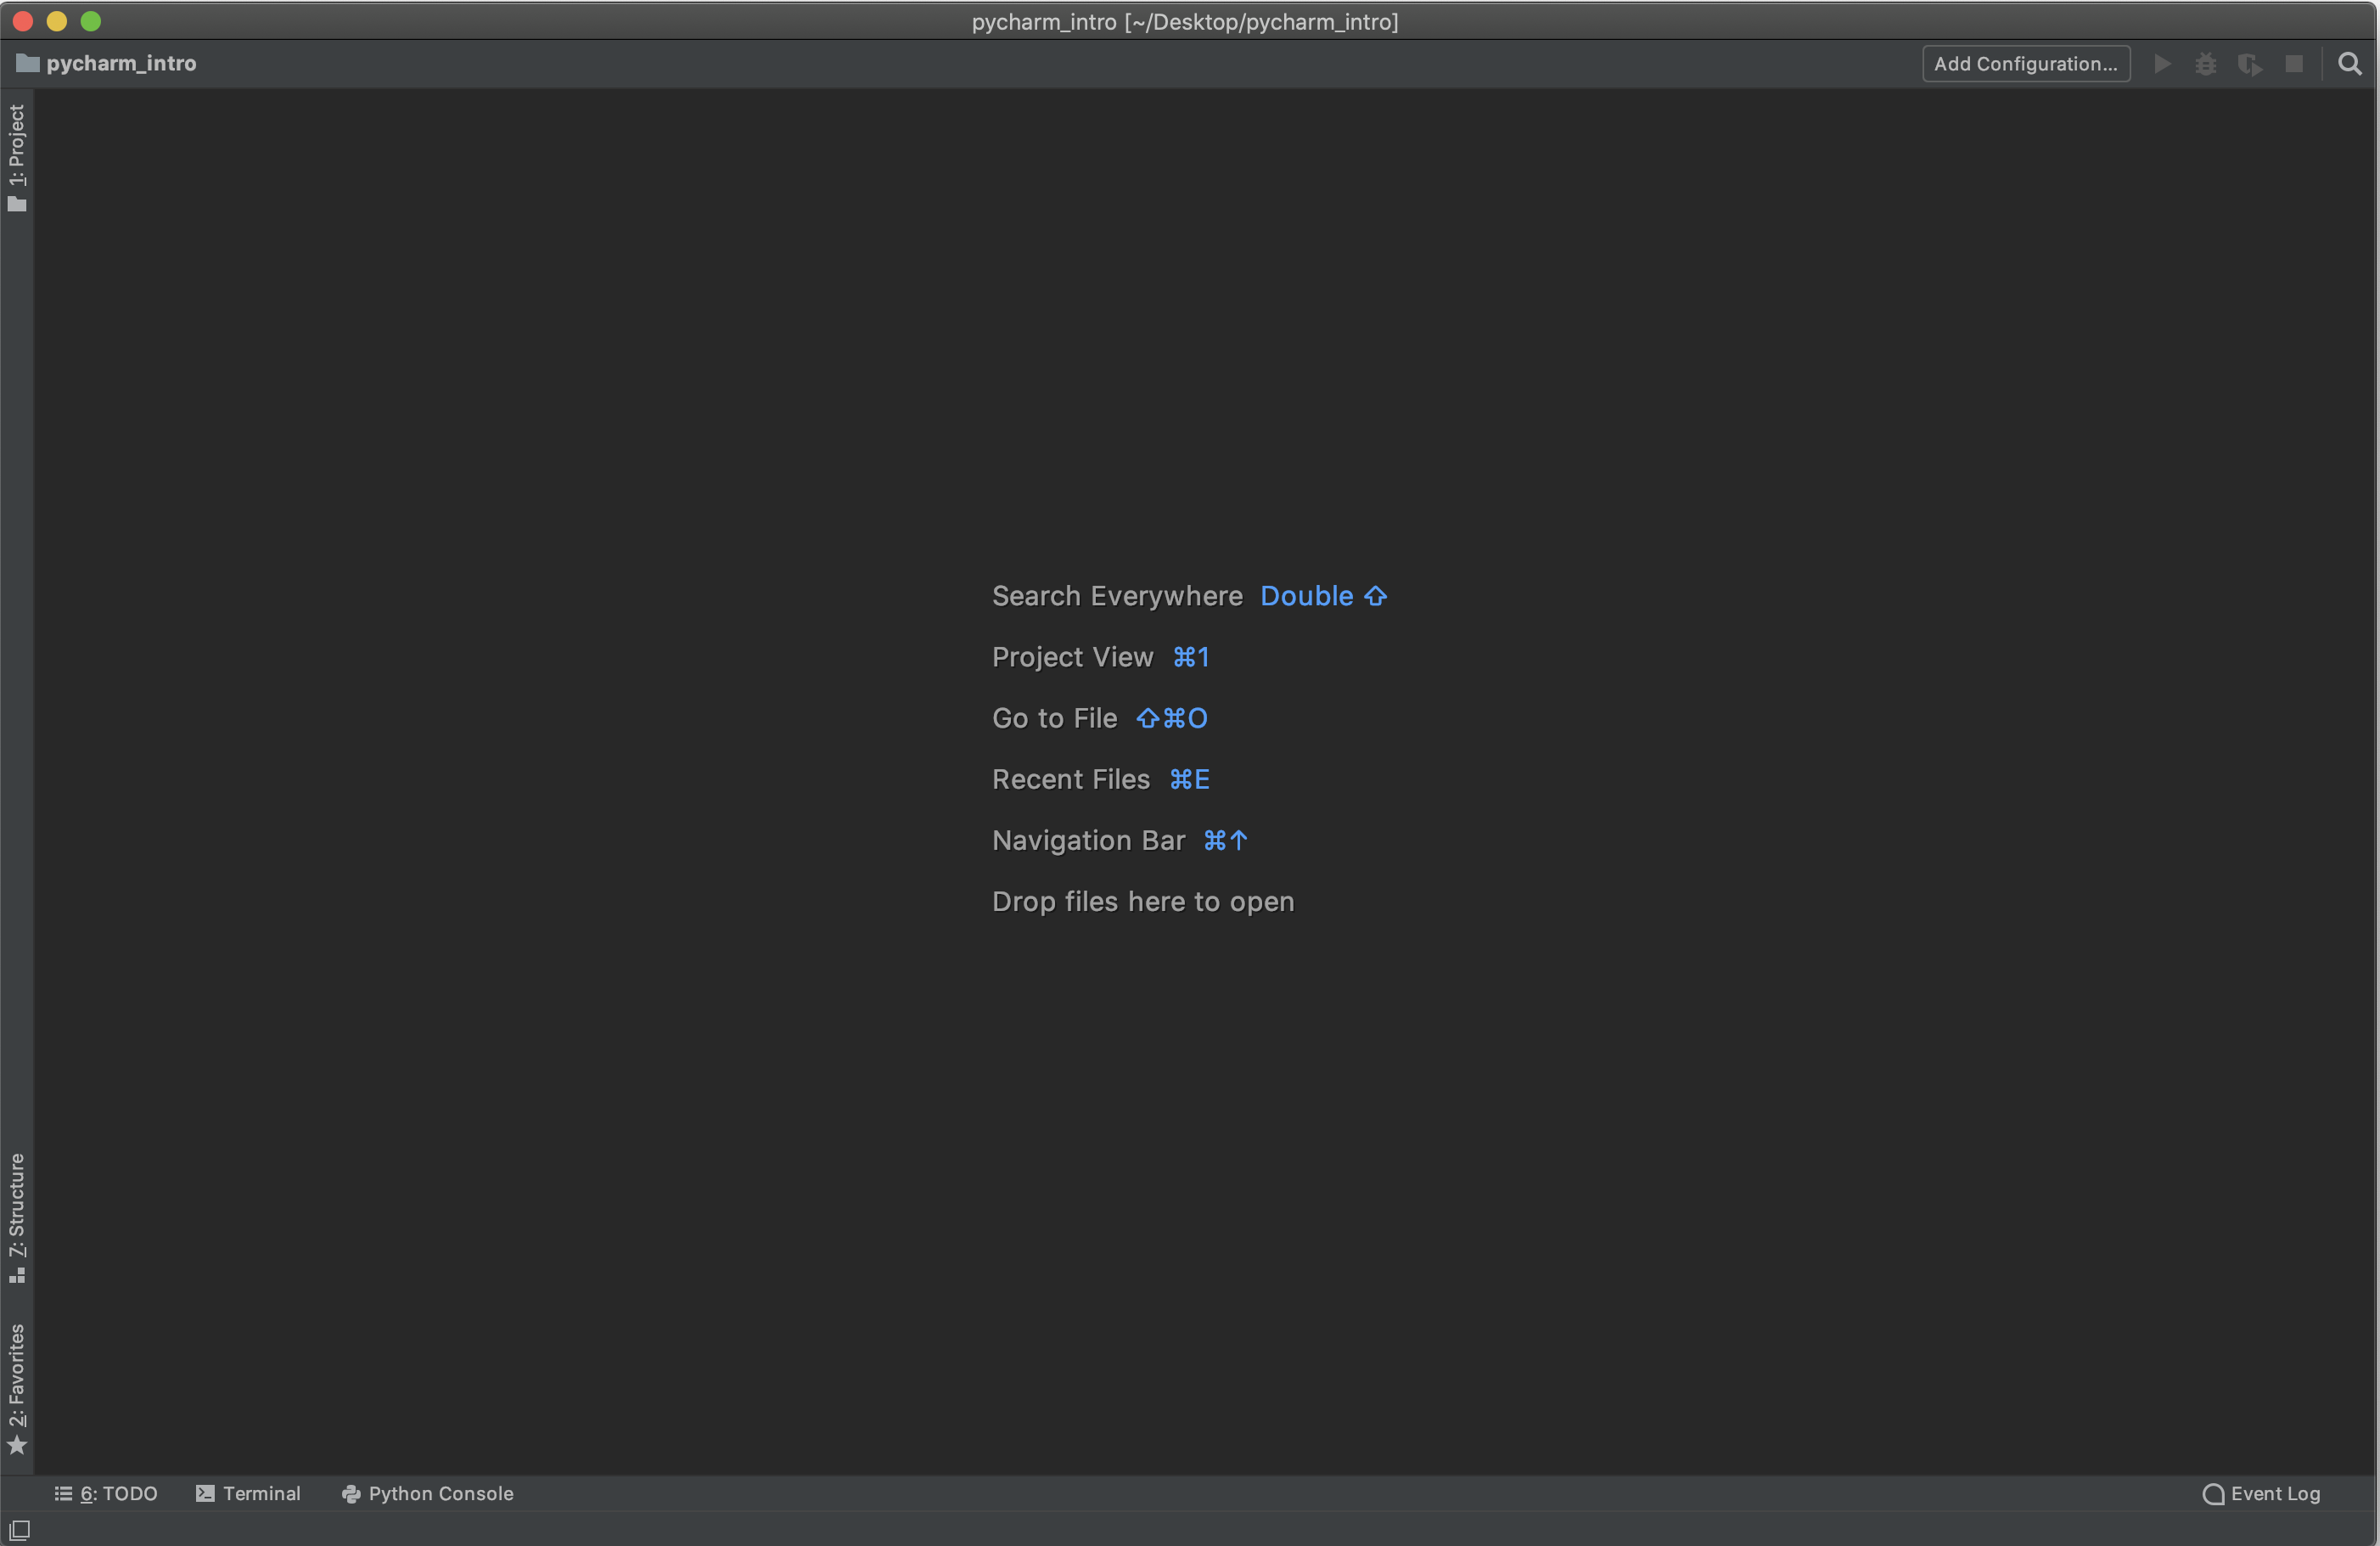
Once PyCharm finishes installing, go ahead and run the program. Once the program launches, you will be taken to a welcome screen that looks like this (note: if it first walks you through customizing PyCharm, just click "Skip Remaining and Set Defaults" in the bottom-left corner):
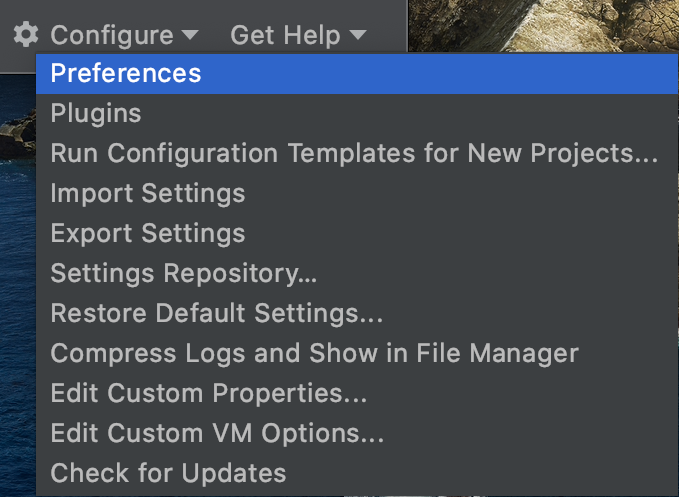
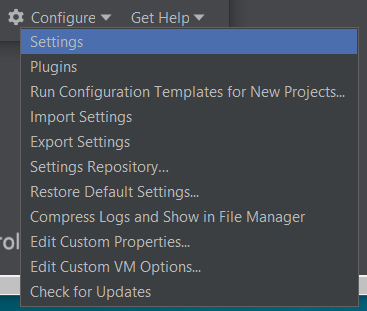
Click 'Configure' and then open PyCharm's settings, like so:
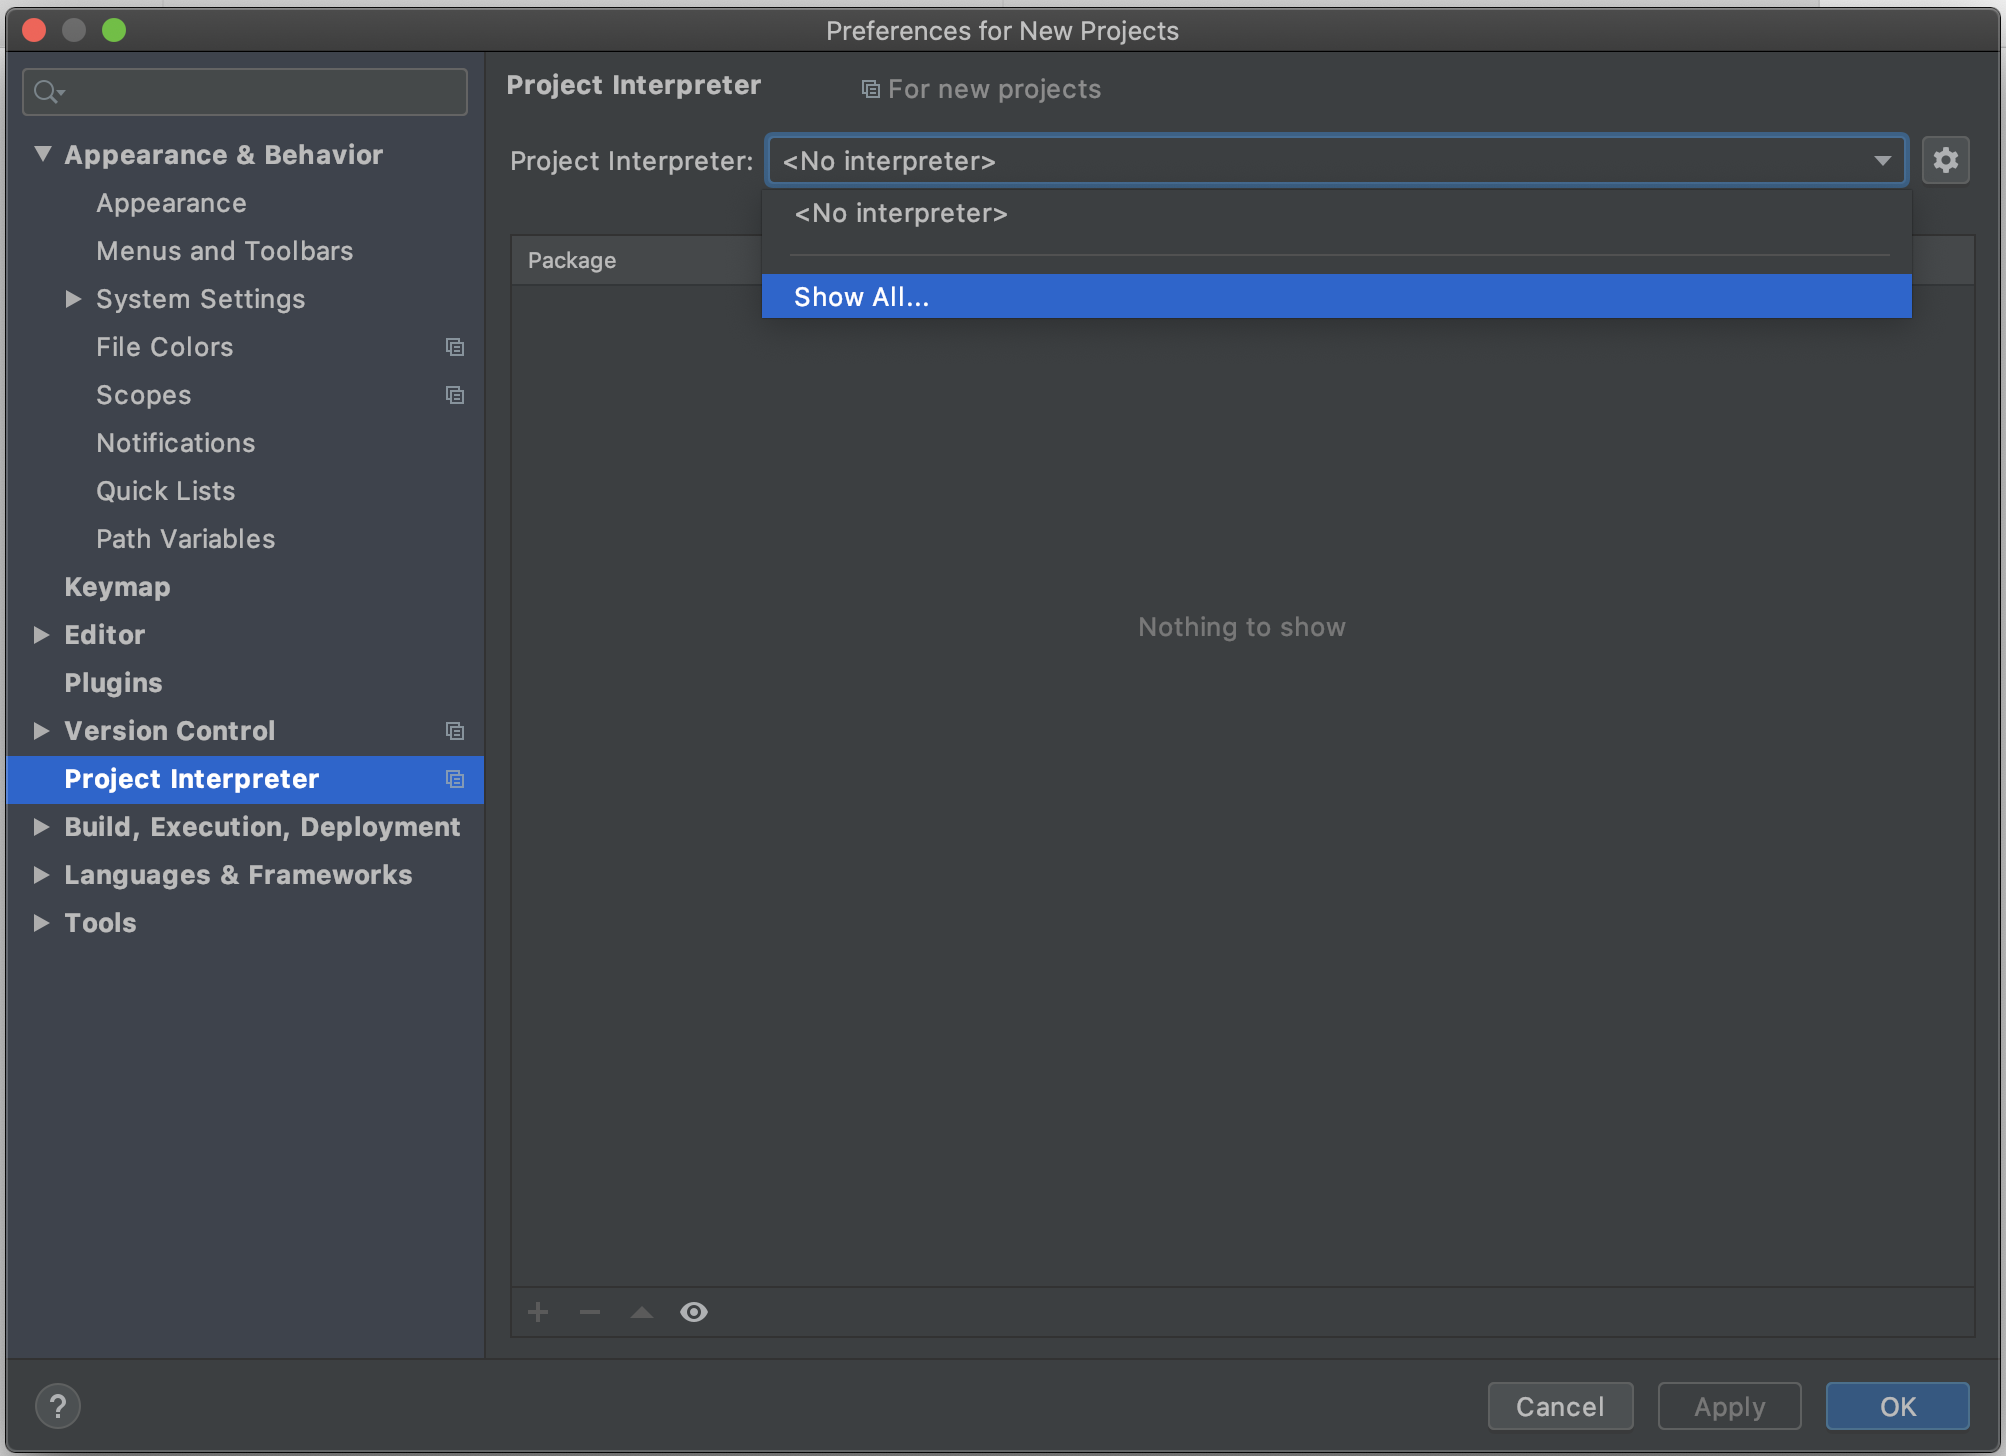
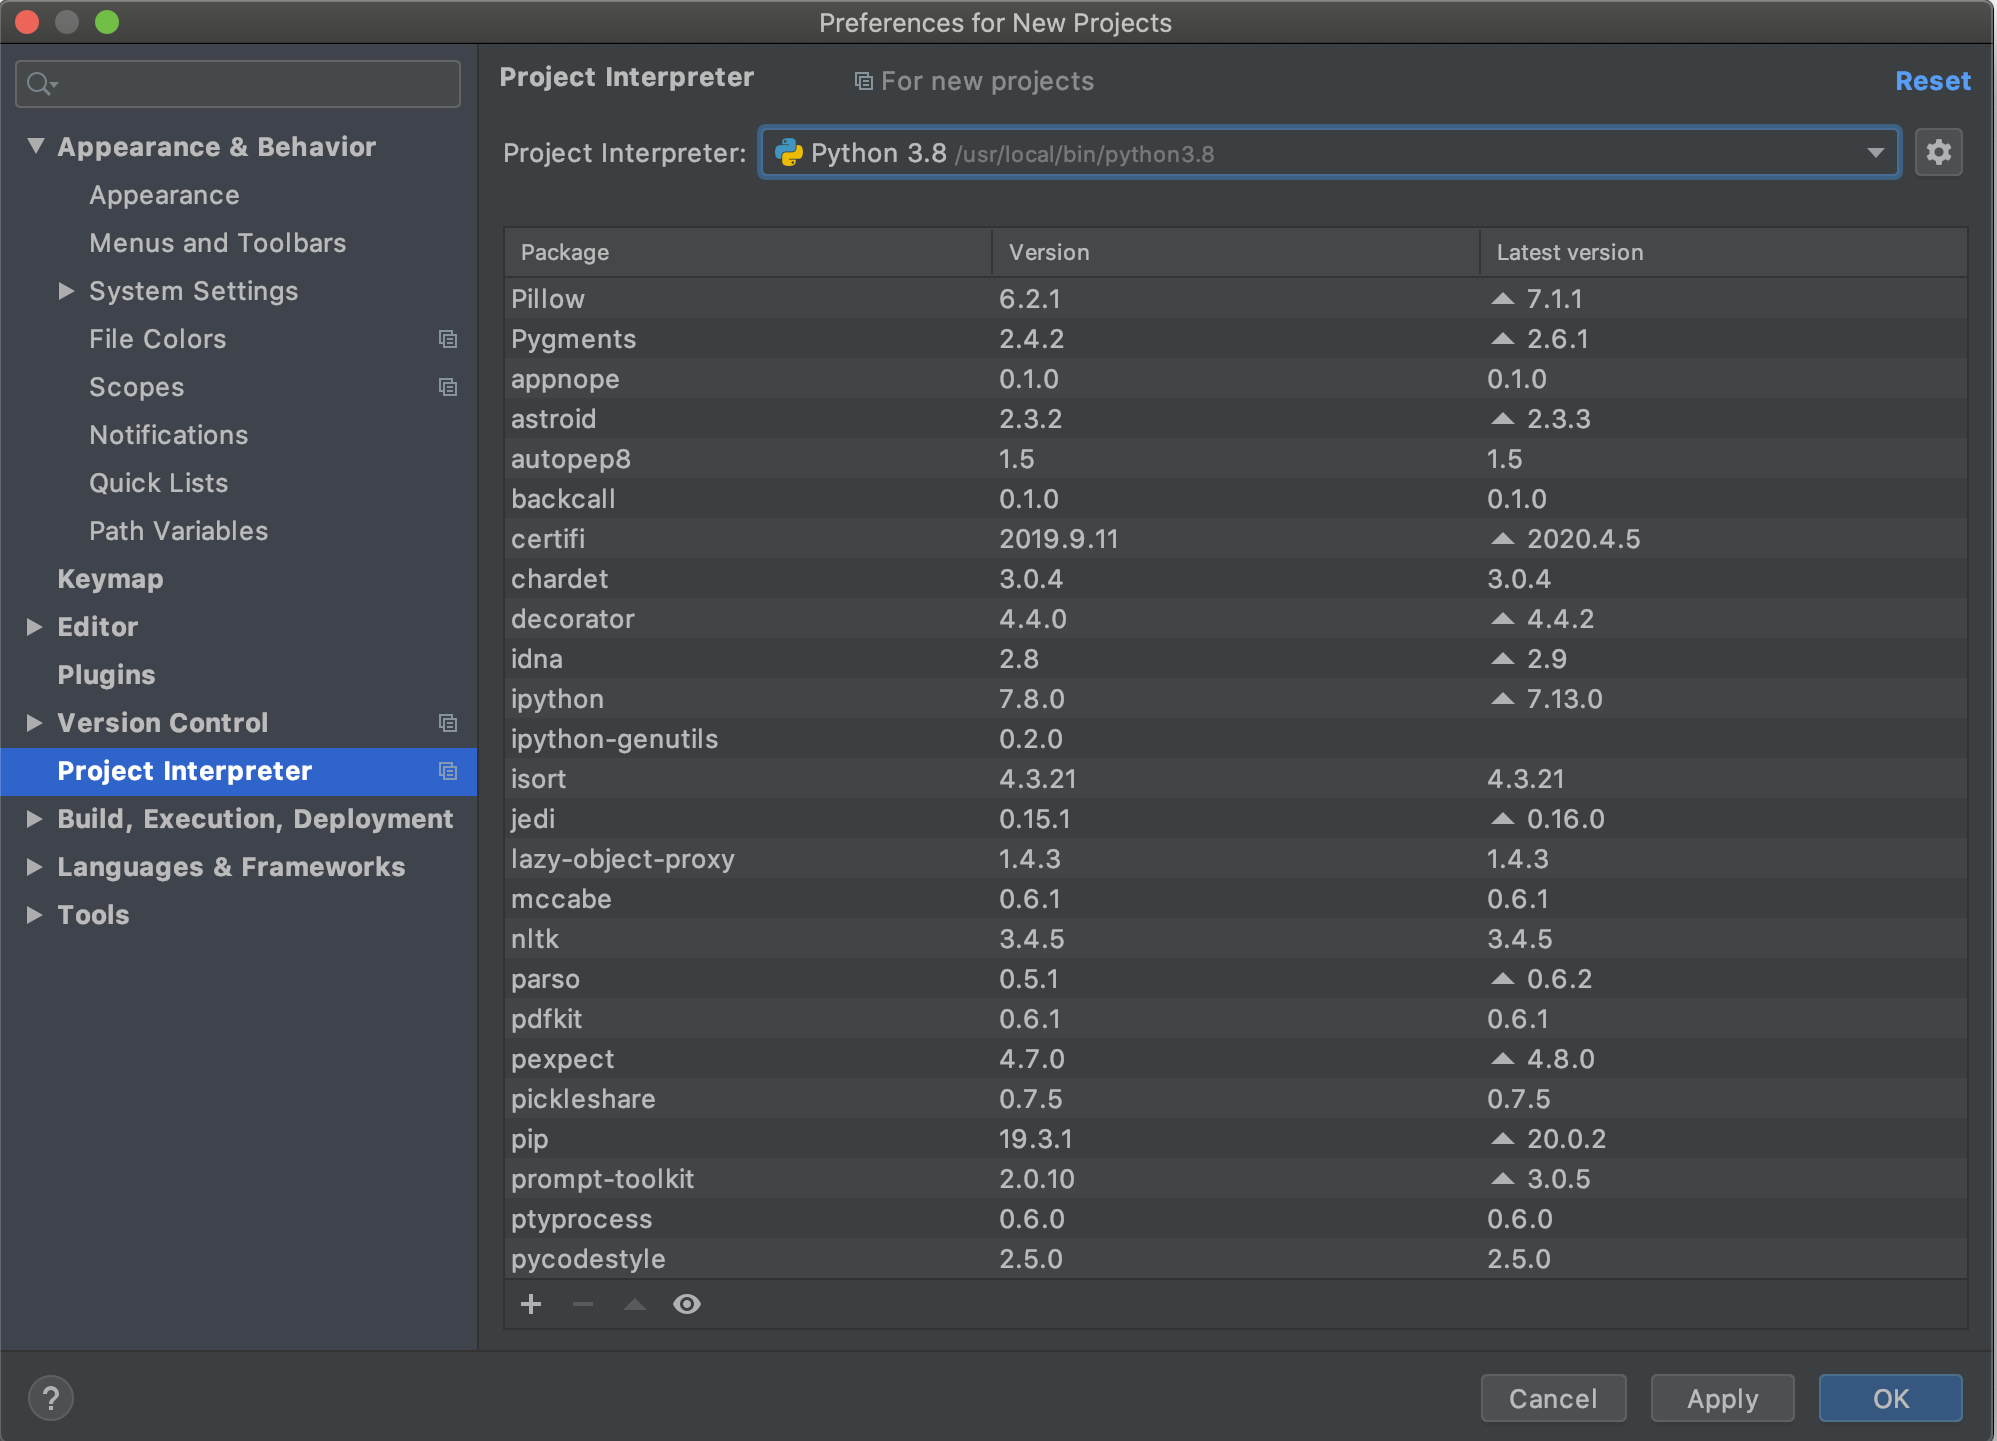
In the Preferences window, click 'Project Interpreter', open the dropdown menu, and click 'Show All':
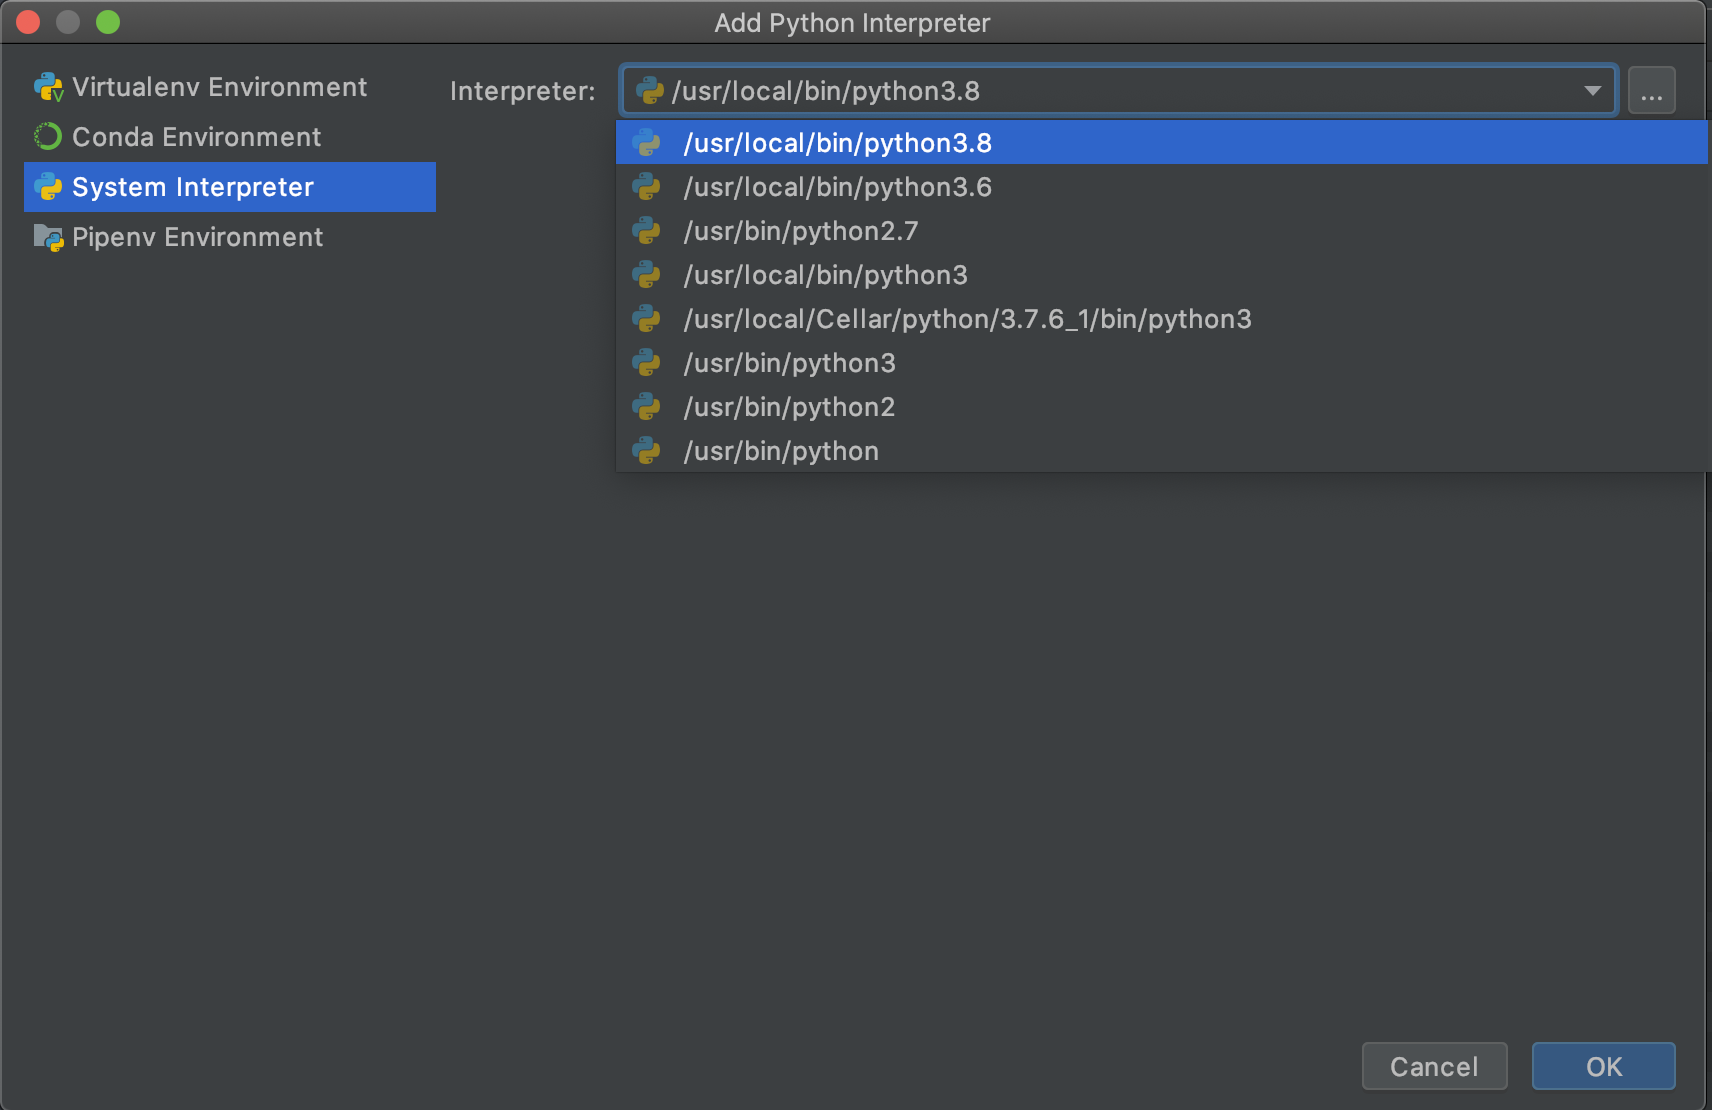
In the following window, click the plus icon:
Click 'System Interpreter' in the sidebar. Depending on whether you've installed other versions of Python before, Python 3.8 may already be selected in the dropdown menu. If not, select Python 3.8 and then click 'OK' and 'OK' again:
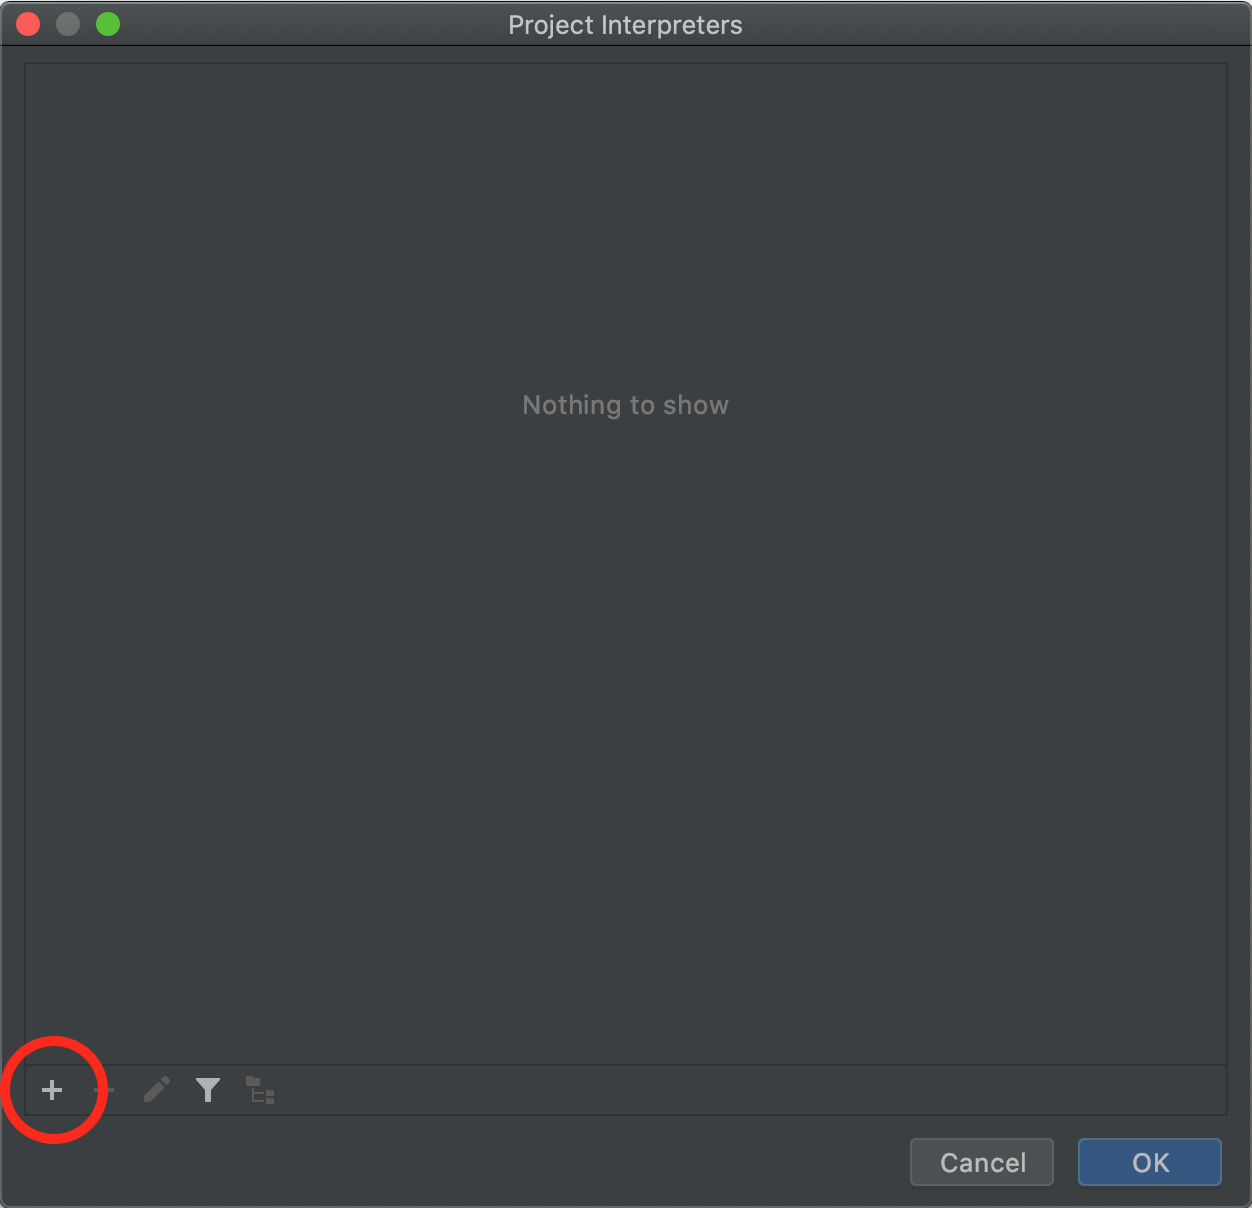
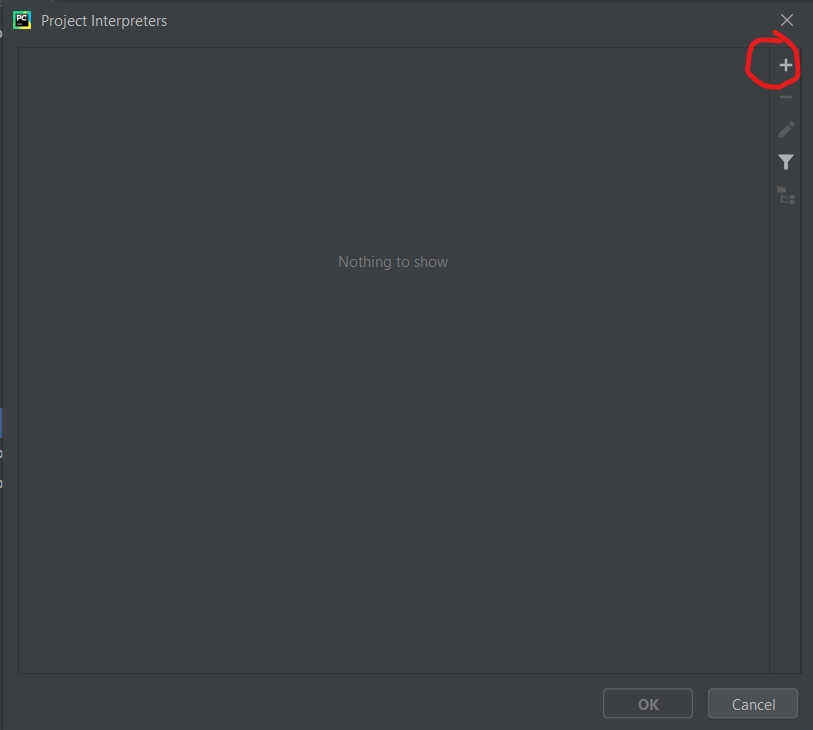
You should now be on a window that looks like this (although the contents of your list might look different):
Click 'OK' again to be taken back to the welcome page. You're now ready to test PyCharm!
Testing PyCharm
PyCharm models a program as a 'project', which consists of one or more Python (.py) files, as well as any additional resources like images or text files. To get you familiar with working with and running programs in PyCharm, we've provided a sample project, which you can download here. To test out this project, and to gain familiarity with the PyCharm environment, download the sample project (on Windows, you'll need to manually unzip it by opening it in Windows Explorer and selecting 'Extract All') and open it in PyCharm (using the 'open' option on the first screen) by selecting the file location you downloaded (the location where you extracted the project if you're using Windows). Whenever you open projects in PyCharm, open the folder directly containing the files you want to edit as opposed to just the files themselves. For instance, in this case make sure to select the folder "pycharm_intro" to open in PyCharm. Upon opening the project, you should be greeted by a window that looks like this:
Click 'Project' in the top left to open the file explorer, and open intro.py to pull up the editor:
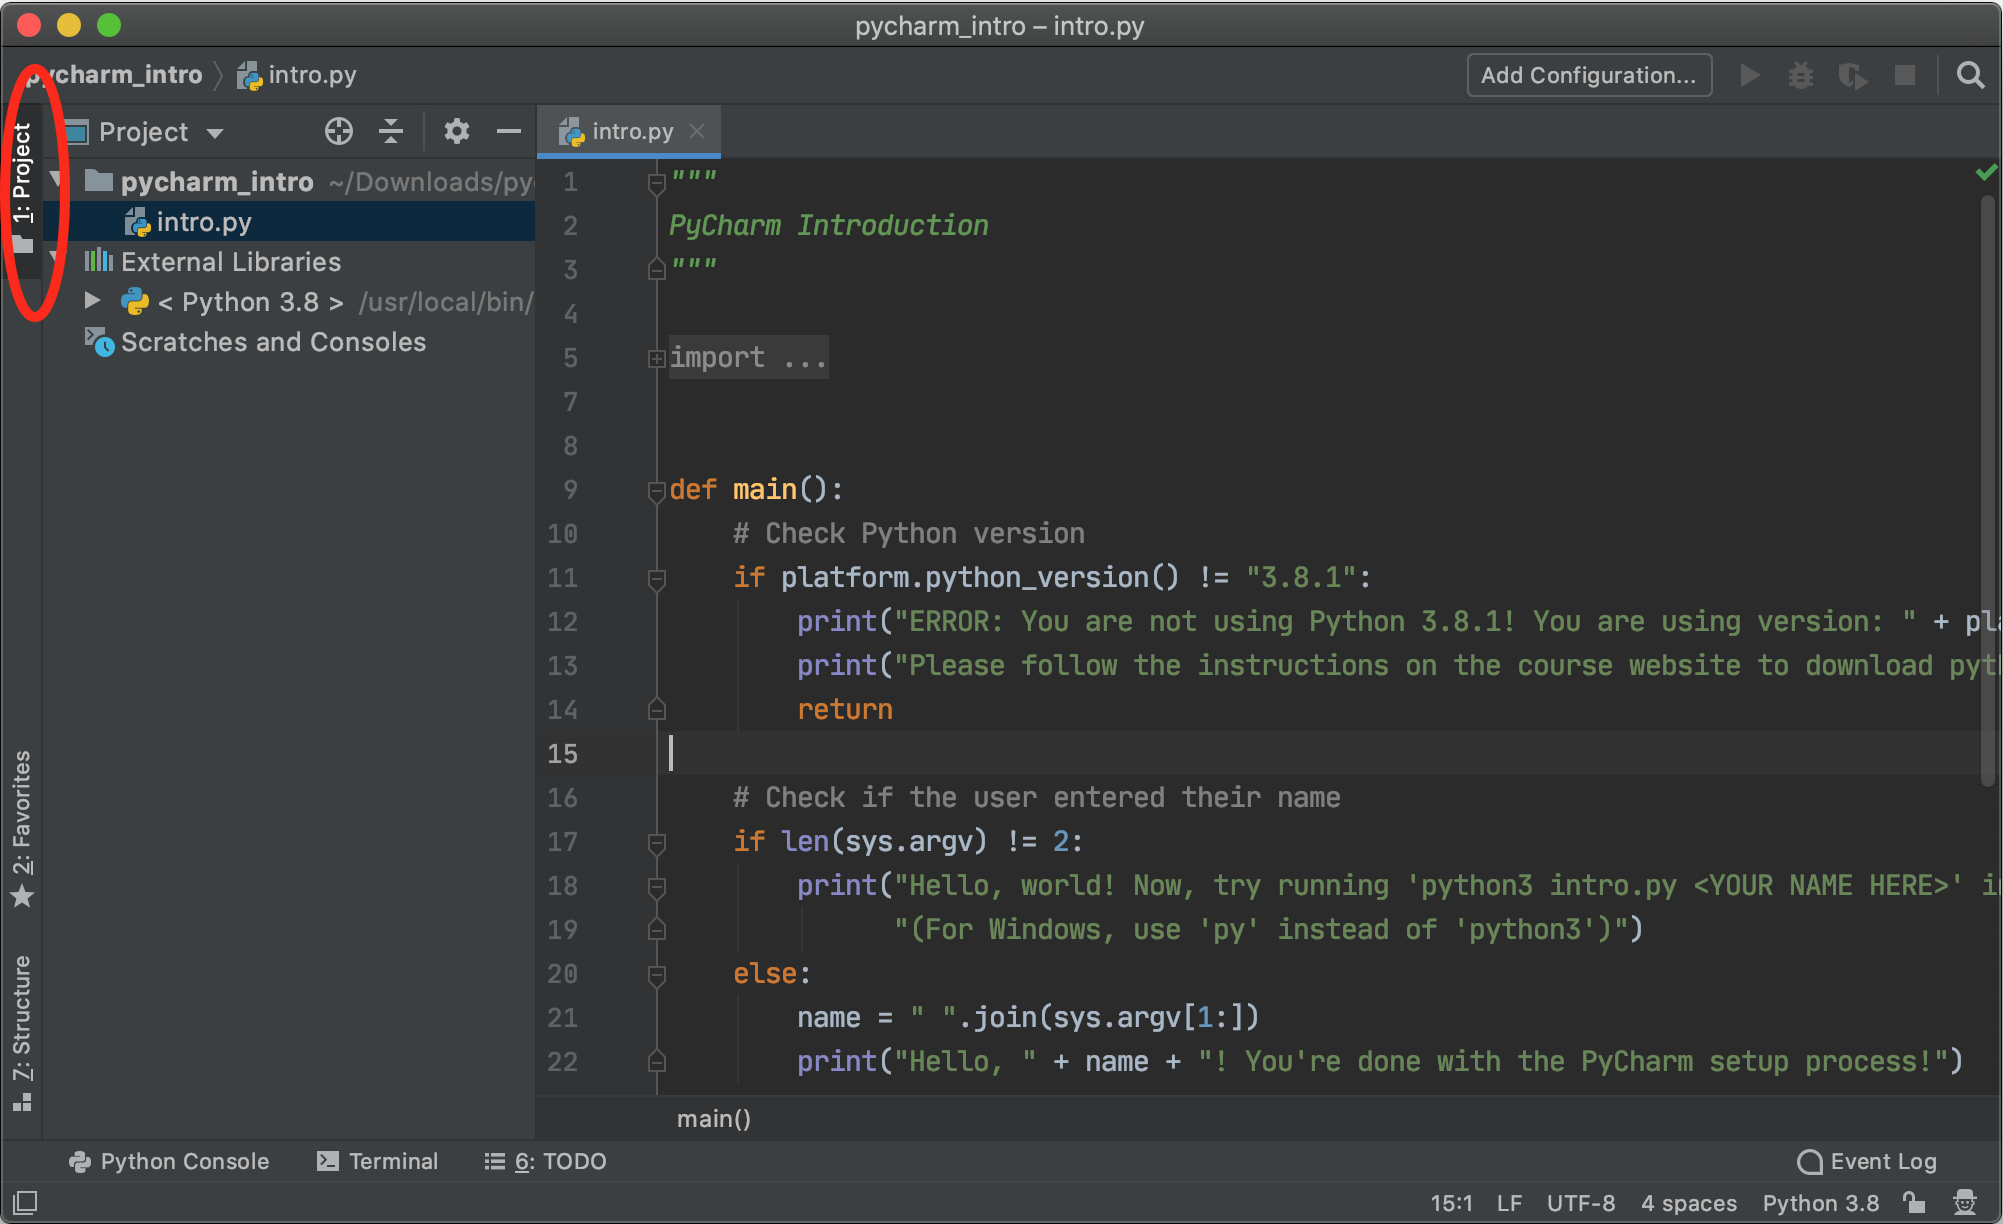
You aren't required to read or understand this code (although you will be able to by the end of the course!) but note that this editor is where you'll be writing all your code for the class. Now, to run your program, click 'Terminal' in the bottom left corner, which will pull up a new terminal pane in your PyCharm window:
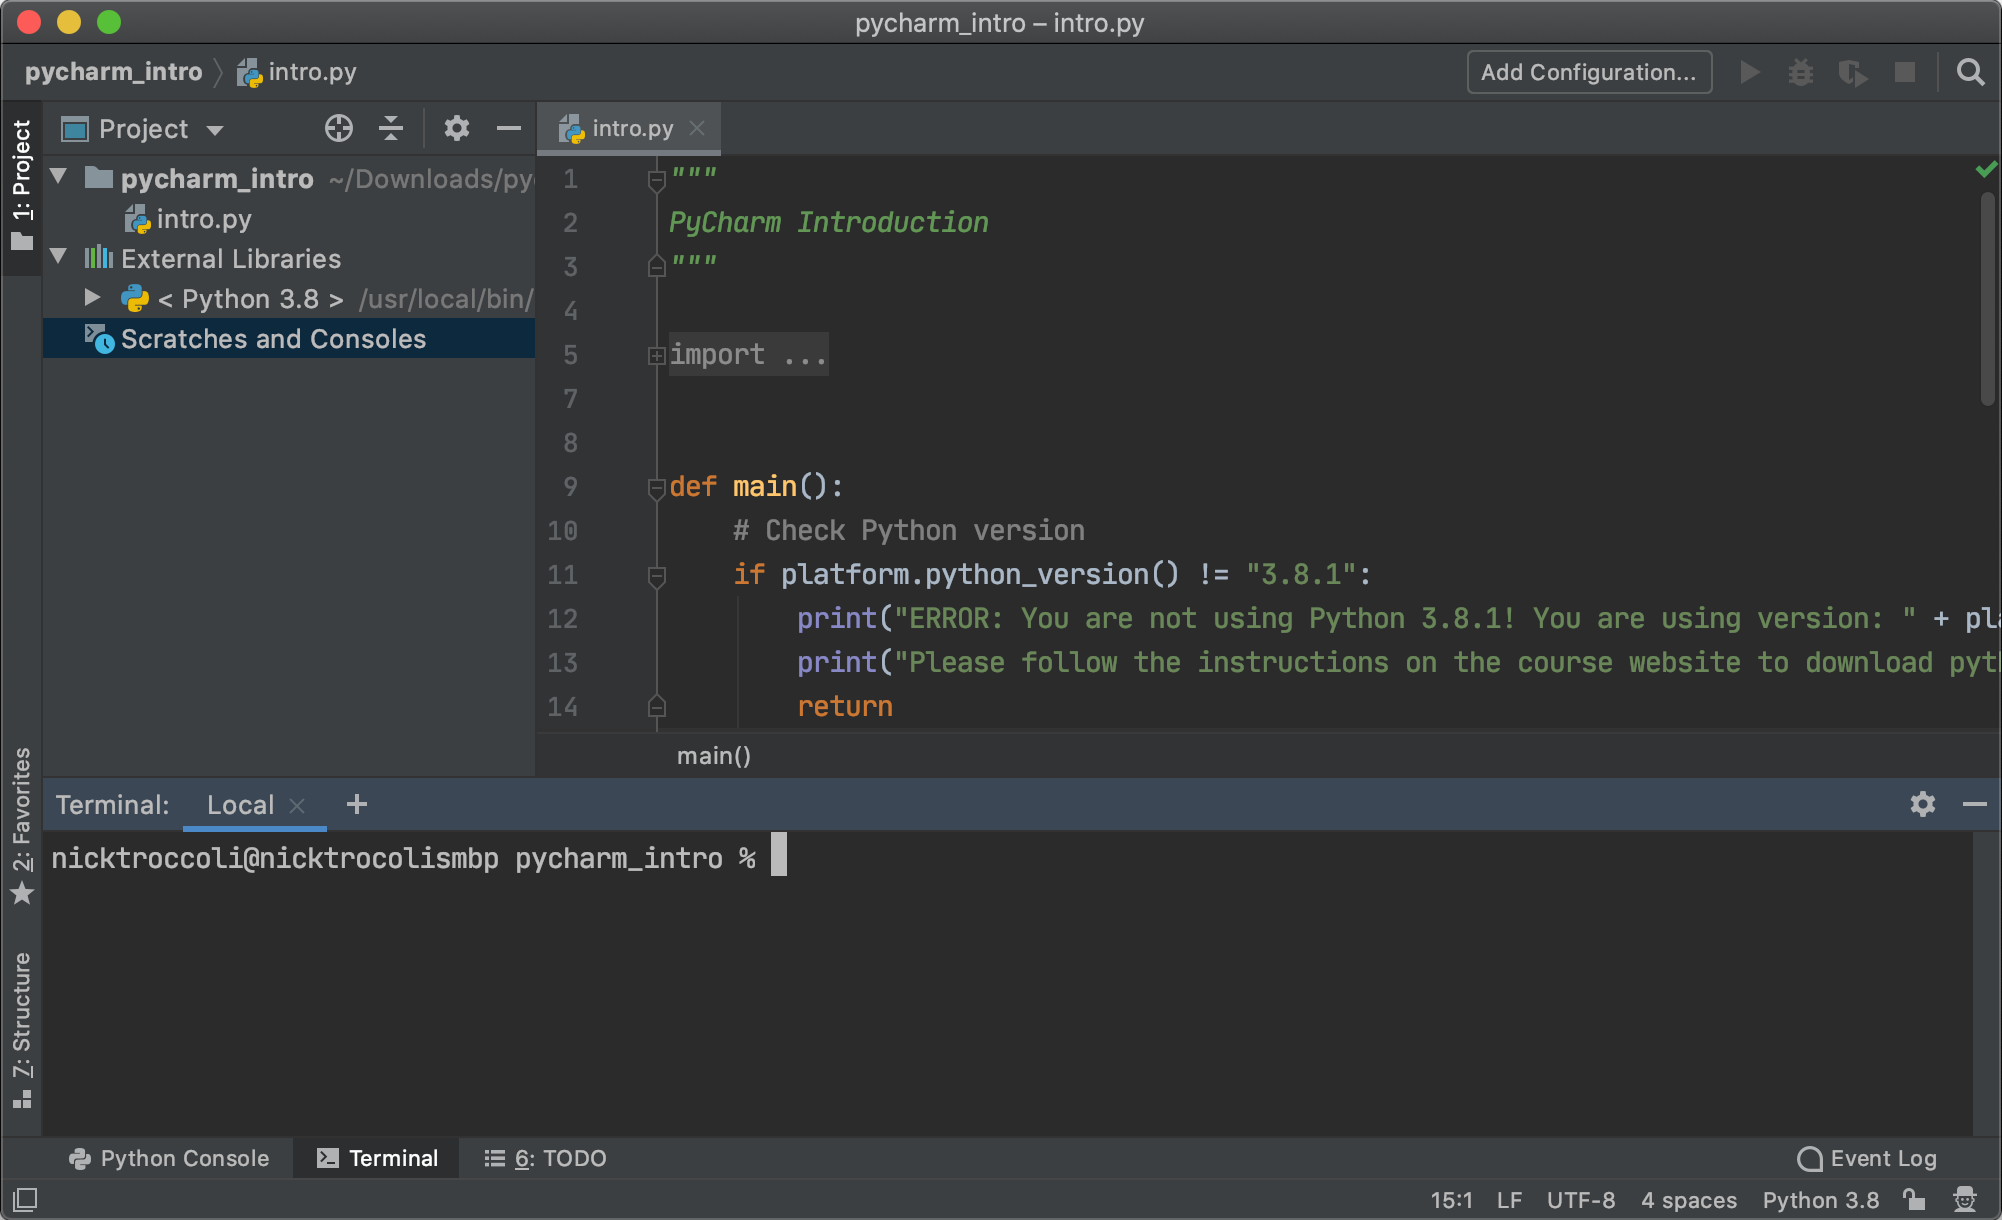
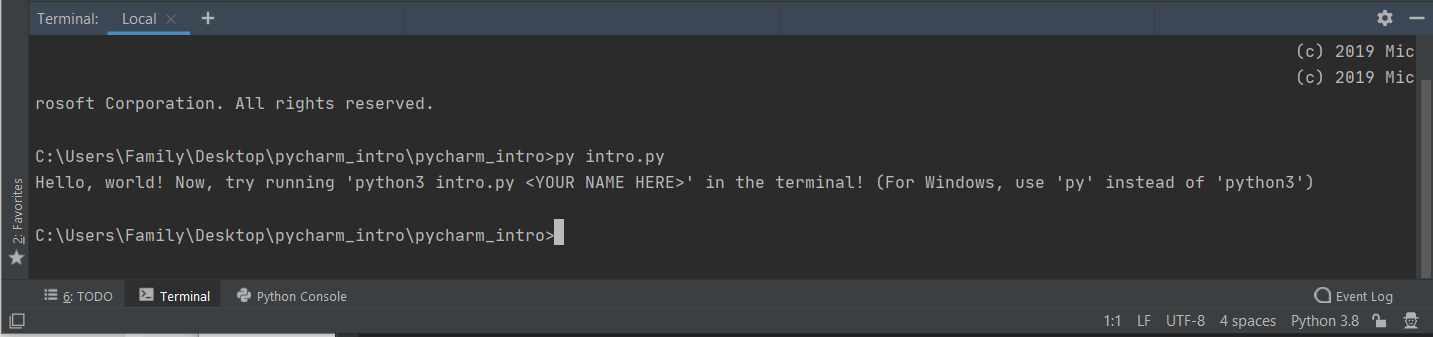
We'll talk more about the terminal later in the course, but for now, know that the terminal is how you'll be running your Python programs throughout the course. To run your first Python program, type this into the terminal and press enter:
python3 intro.py
You should see output that looks like this:
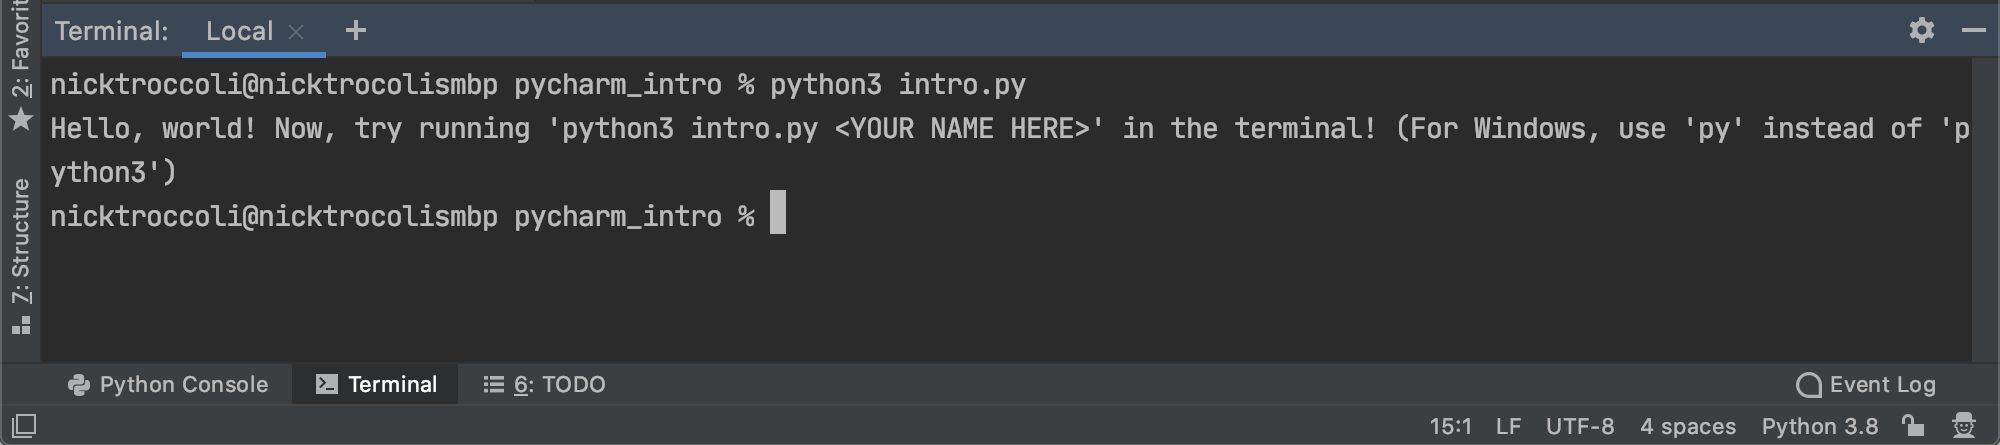
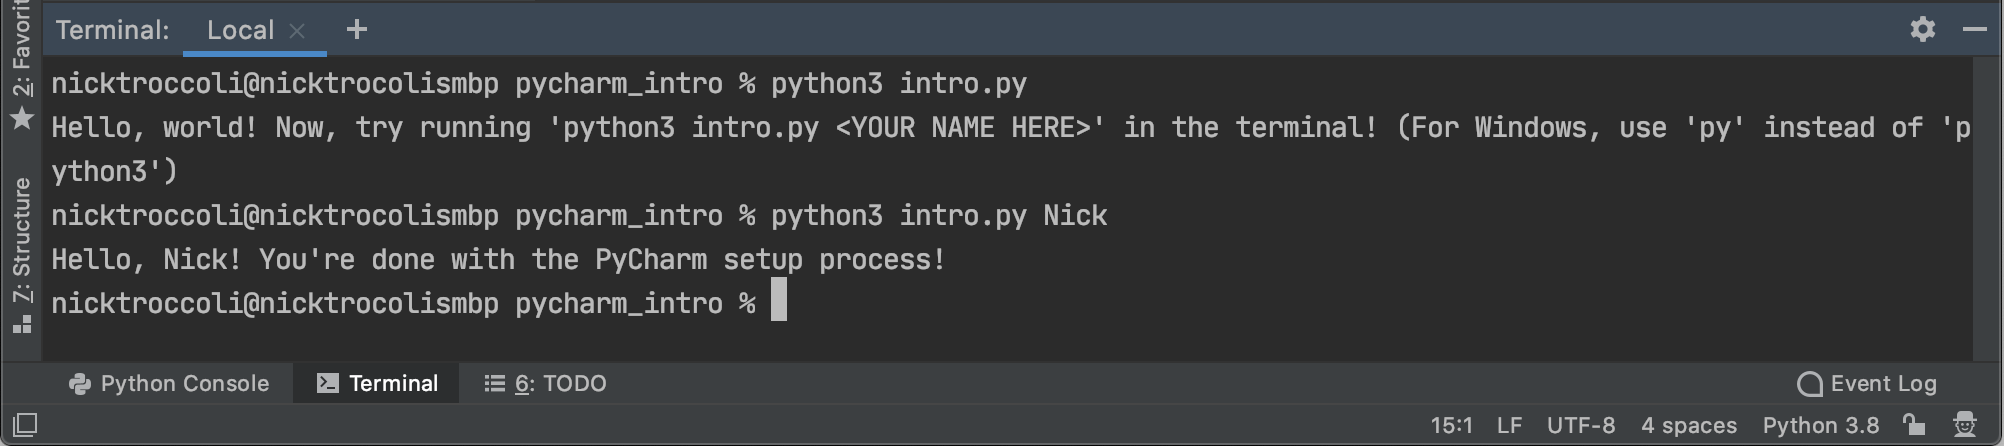
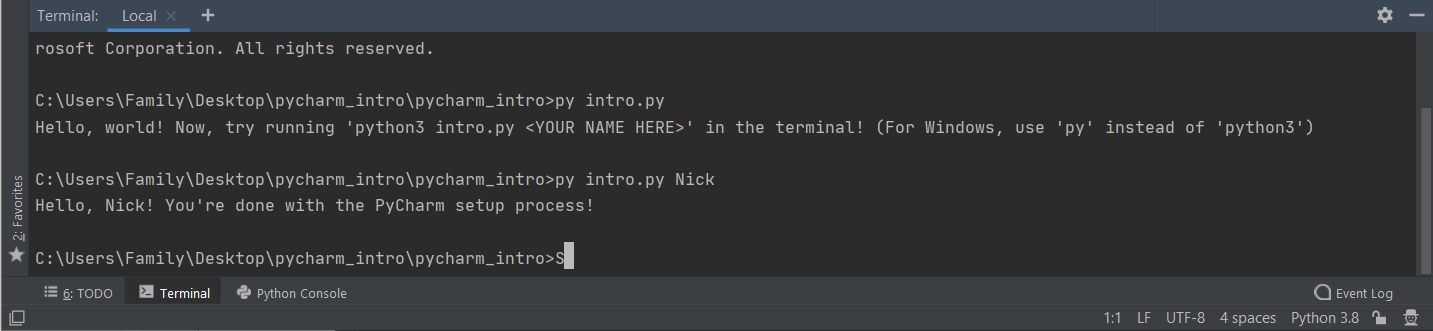
Now, type the following command into the terminal:
python3 intro.py <YOUR NAME HERE>
For example, if your name is Nick, you'd type python3 intro.py Nick. You can type your full name if you'd prefer. You should now see output like this:
Congratulations! Your PyCharm installation is working so far!
Installing Graphics
The graphics library that we will be using for the course should have automatically been installed for you when you installed Python. However, it relies on one other tool that you'll need to install, called "Pillow", which contains code to manipulate images. In order for be able to work with images, you need to install Pillow on your machine. To install Pillow, you should first open a "terminal" window: the easiest way to do this is to use the “Terminal” tab within PyCharm on the lower-left (next to the “Run” and “Python Console” tabs). Type the following command below into the Terminal. (Note that "Pillow" starts with an uppercase P.):
python3 -m pip install Pillow==7.1.1
If it prints a bunch of output followed by "Successfully installed Pillow-7.1.1" at the end, your installation should be complete. You're ready to program!
Frequently Asked Questions
Can I use another version of Python?
Our strong recommendation is to use Python 3.8, which can be installed in parallel with other versions of Python. This is the only version of Python we'll be supporting in this class.
Can I use an editor that isn't PyCharm?
If there's another environment that you're more comfortable with, you may use it, but the course staff will only provide support for issues in PyCharm. You must not modify any configuration files provided in assignment starter code.
When I try to run my code, I'm getting an error saying can't open file intro.py: No such file or directory! What does this mean?
This most often happens when you open the incorrect file or folder in PyCharm. In this case, make sure to open the pycharm_intro folder that directly contains intro.py, rather than intro.py itself or a folder containing pycharm_intro. On a Windows computer, you may have a folder called pycharm_intro with another folder inside it called pycharm_intro. Make sure to open the inner folder.
To correct this error, open the 'File' menu and click 'Open'. Then, navigate to the correct pycharm_intro folder and open it.
To verify that you are in the correct folder, type ls (that's a lowercase 'L') dir into your terminal (the same place you type python3 intro.py < YOUR NAME HERE > ). This will show you a list of all the files in that folder, and intro.py should be in this list.
I'm getting a 'No Python Interpreter configured for the project' message when I open a file! What should I do?
This is likely caused by an issue with how you set up the interpreter. To fix this, click 'Configure Python Interpreter', and set up the interpreter by following these steps until the 'Testing Pycharm' section.
I'm on a Mac and I'm getting a message saying The default interactive shell is now zsh.
To update your account to use zsh, please run `chsh -s /bin/zsh. What should I do?
That's just an innocuous message, don't worry about it!
I'm on a Mac and PyCharm won't open! What should I do?
You might be using a slightly older version of MacOS. Try installing this version of PyCharm instead.
I'm getting an error window saying "This installation contains JetBrains Runtime 11 which does not support Microsoft Windows 32-bit version"! What should I do?
Try installing this version of PyCharm instead.
Course FAQs will be continually updated as we receive questions.